Most internal partition walls in homes and small offices are non-load-bearing, which means a competent DIYer or handy person can remove them safely once two things are confirmed: the wall isn’t carrying structural load, and every electrical, plumbing or gas service running through it has been isolated by a licensed tradesperson. That’s the whole calculation.
- If you’re not certain the wall is non-load-bearing, stop and get a professional opinion before touching it.
- If there’s any wiring, plumbing or gas you can’t account for, get a licensed trade to check and isolate it first.
- If the wall sits below another wall or under a roof change, treat it as load-bearing until proven otherwise.
Get those two checks right and partition wall removal is one of the more manageable jobs in a renovation.
Key Takeaways
Removing a non-load-bearing partition is safe DIY territory once the wall’s structural status is confirmed and all services are isolated by licensed trades.
| Point | Details |
|---|---|
| Confirm structural status first | Check joist direction, alignment with external walls, and what sits above the wall before cutting. |
| Isolate services before demolition | Get a licensed electrician, plumber or gasfitter to clear the cavity before you touch it. |
| Know your triggers for a professional | Walls below other walls, multi-storey buildings or fire separations need engineering sign-off. |
| Budget realistically | Non-load-bearing work runs roughly $500 to $2,500 over 1 to 3 days; load-bearing work runs $3,000 to $10,000 or more over several weeks. |
| Plan waste removal ahead of demolition day | Booking collection in advance avoids double-handling and keeps the site clear. |
Table of Contents
- Safety checklist before you touch a partition wall
- Step-by-step process for removing a non-load-bearing wall
- When you need an engineer, builder or council approval
- How to deal with the rubble once the wall’s down
- What partition wall removal actually costs and how long it takes
- Common mistakes that turn a simple job into an expensive one
- Sources
Safety checklist before you touch a partition wall
Not every clue you can see tells you the truth about a wall. A stud wall covered in plasterboard can still be doing structural work, especially in older homes with masonry construction or additions built over time. Visual and tap tests are notoriously unreliable on their own, because a wall’s structural role depends on what’s above and below it, not what it’s made from.
Here’s what actually gives you reliable information:
- Check what sits directly above the wall. If there’s a wall on the floor above running in the same direction, or roof trusses bearing down on it, treat it as load-bearing.
- Check the joist direction. Floor or ceiling joists running perpendicular to the wall and resting on it are a strong load-bearing signal; joists running parallel are a better (but not conclusive) sign it’s a partition.
- Check alignment with external walls or chimneys. Interior walls that line up with an outside wall or a chimney breast often carry load through the structure.
- Get building plans if you have them. Original drawings, if available, usually specify which walls are structural.
Even with all four checks done, concealed electrical circuits, water pipes and gas lines inside a wall cavity are a legal blind spot: cutting into them is not just dangerous, it’s work that must be done by a licensed electrician, plumber or gasfitter in Australia.
Pro Tip: Cut a small inspection hole near the ceiling line before committing to full demolition. It costs you five minutes and tells you what’s really inside the cavity, long before you’re standing there with a sledgehammer and a live cable in front of you.
Step-by-step process for removing a non-load-bearing wall
Once you’ve confirmed the wall is safe to remove and services are clear, the job itself follows a fairly predictable sequence.
Before you start:
- Photograph and measure the wall, noting skirting, cornices and any fixtures you’ll need to patch around later.
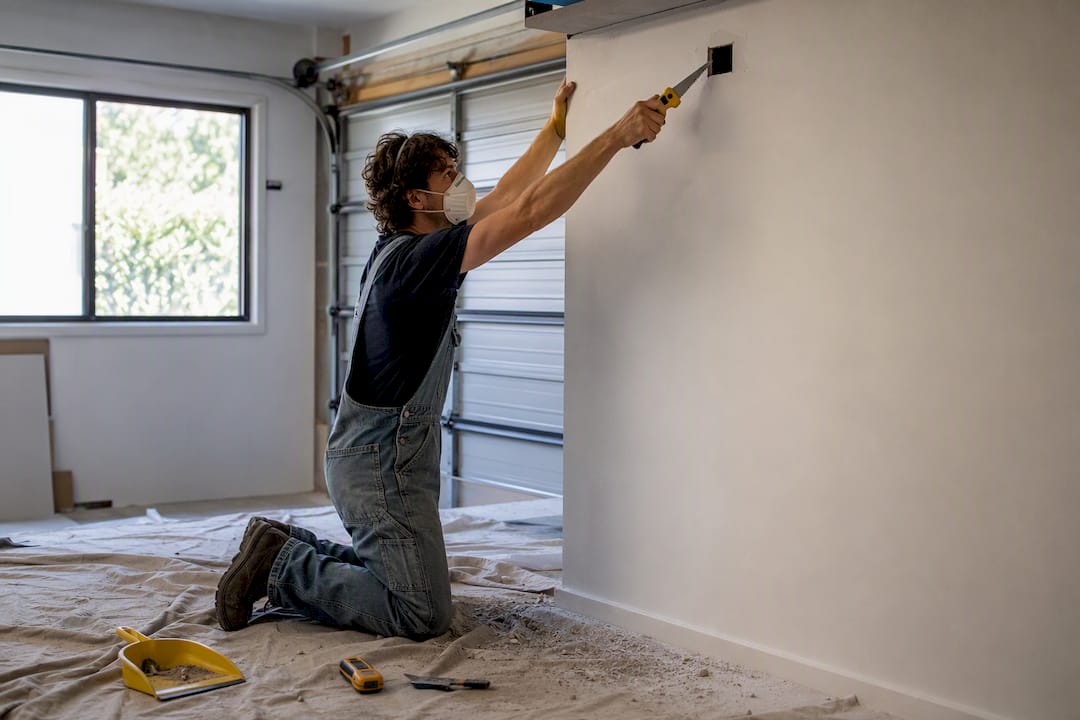
- Gather tools: stud finder, reciprocating saw or wrecking bar, dust sheets, P2 dust mask, safety glasses, gloves, and a rubbish removal plan for what comes out.
- If you’re a commercial tenant, check your lease and original fit-out consent before demolishing anything. Make-good clauses aren’t automatic, and you may not be obliged to remove or reinstate a partition unless the lease says so.
- Book a licensed electrician, plumber or gasfitter to isolate any circuits or pipework running through the wall before you cut into it.
Demolition, top to bottom:
- Strip skirting boards, architraves and any wall-mounted fixtures first.
- Remove plasterboard or lining sheets, working from the top down so debris falls in a controlled way.
- Take out studs one at a time rather than trying to collapse the whole frame at once.
- For masonry or brick partitions, work in small sections and keep an eye on anything that shifts or sounds different when tapped, that’s your cue to stop.
Finishing up:
- Patch the ceiling and flooring junctions where the wall used to meet them.
- Skim and sand plasterboard joins, then repaint to match.
- Stage your waste for collection rather than letting it pile up mid renovation.
When you need an engineer, builder or council approval
Some situations move a job out of DIY territory immediately, no exceptions.
- The wall is directly below another wall, especially on a second storey or above.
- You’re unsure whether it’s load-bearing after doing the checks above.
- The removal affects a fire separation, party wall, or shared wall in an apartment or strata building.
- You’re working across multiple storeys where removing one wall changes how loads travel through the whole structure.
If any of these apply, a structural engineer needs to assess the wall and supply drawings specifying the propping scheme and any replacement beam. Temporary propping using acrow props or engineered shoring is mandatory before a load-bearing wall comes out, and it has to follow the engineer’s spec exactly, not a rough guess on site.
In most Australian councils, a straightforward non-load-bearing removal doesn’t trigger a building permit, but structural work does, and the engineer’s drawings typically become part of that permit application. Any electrical, plumbing or gas work still has to go through a licensed trade regardless of whether the wall itself needs a permit. Skipping that step isn’t just risky, it can cause problems later if you ever sell and disclosure comes into play.
How to deal with the rubble once the wall’s down
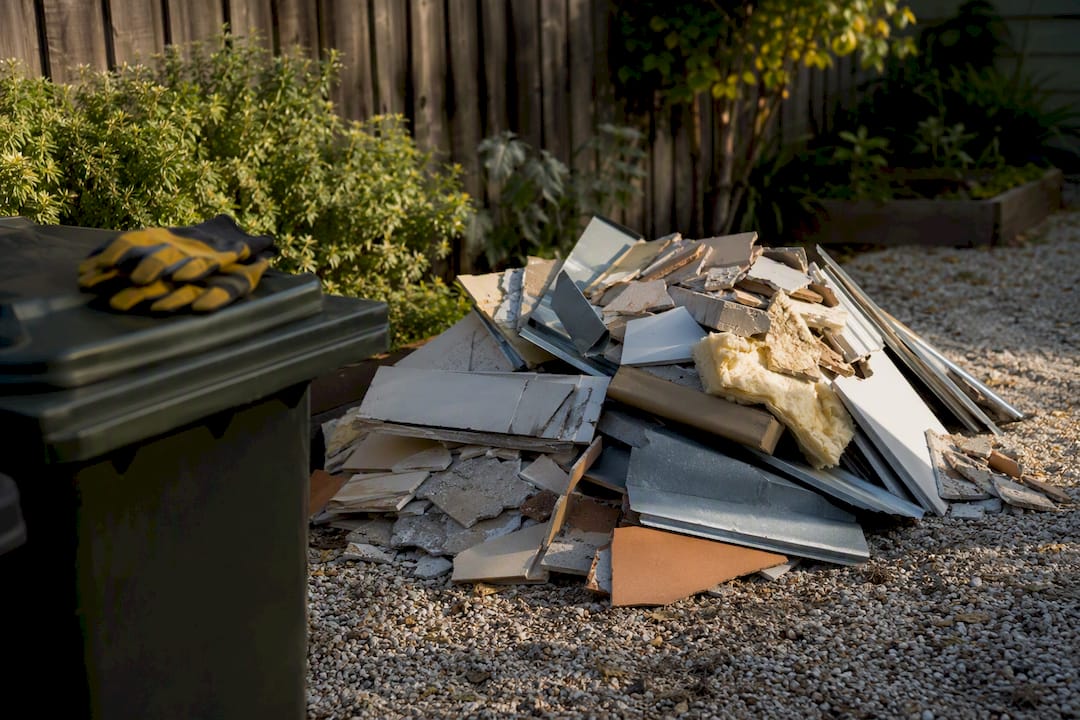
Partition removal generates a predictable mix: plasterboard, timber studs, sometimes brick or besser block, and the odd scrap of metal from fixtures or brackets. Plasterboard and timber are usually recyclable through the right waste stream; masonry can often be crushed and reused rather than landfilled.
- Sort plasterboard, timber and masonry into separate piles as you go, it makes collection faster and disposal cheaper.
- If the home was built before the mid 1980s, check for asbestos in wall sheeting before you start cutting into anything.
- Book your waste collection for the same day as demolition so debris doesn’t sit around the site for days.
A trade rubbish removal service built for renovation debris tends to beat a council skip on flexibility, since it doesn’t need a permit for street placement and can be scheduled around your actual demolition day rather than a fixed hire window.
Pro Tip: Line up your rubbish collection before demolition day, not after. Double-handling debris because you didn’t book ahead adds hours of unnecessary labour to a job that should take one.
What partition wall removal actually costs and how long it takes
Budgets vary with wall size, material and what’s hiding inside it, but the pattern is consistent enough to plan around.
- Non-load-bearing removal: commonly $500 to $2,500, with site work typically wrapped up in 1 to 3 days.
- Load-bearing removal: commonly $3,000 to $10,000 or more once engineering, a beam and permits are factored in, with the full project running 3 to 6 weeks from assessment to completion.
- What pushes costs up: hidden electrical or plumbing runs, asbestos testing and removal, higher-spec reinstatement finishes, poor site access, and waste disposal volume.
Assessment alone can take anywhere from a few days to two weeks, and if permits are required, add another two to six weeks before work even starts on site.
Common mistakes that turn a simple job into an expensive one
- Assuming a wall is non-load-bearing just because it’s plasterboard, thin, or “looks” like a partition.
- Cutting into a wall cavity without confirming what services run through it first.
- Ignoring a wall directly above or below the one you’re removing.
- Continuing work after finding unexpected masonry, steel, or thicker framing than expected, that’s the moment to stop and call an engineer.
- Skipping licensed trades for electrical or gas isolation to save money, which risks both safety and compliance.
If a wall doesn’t behave the way you expected once you open it up, that’s not the moment to push through. It’s the moment to put the tools down and get someone qualified to look.
Ready to clear the debris once the wall’s out? Melbournecityrubbish handles plasterboard, timber and masonry waste from partition removals across homes and small businesses, with carbon-neutral disposal options and no mess left behind. For strata or multi-occupancy jobs, the strata rubbish removal service is built around the extra compliance that shared buildings need. And if you’re comparing quotes, Melbournecityrubbish will beat any written quote by 5%.