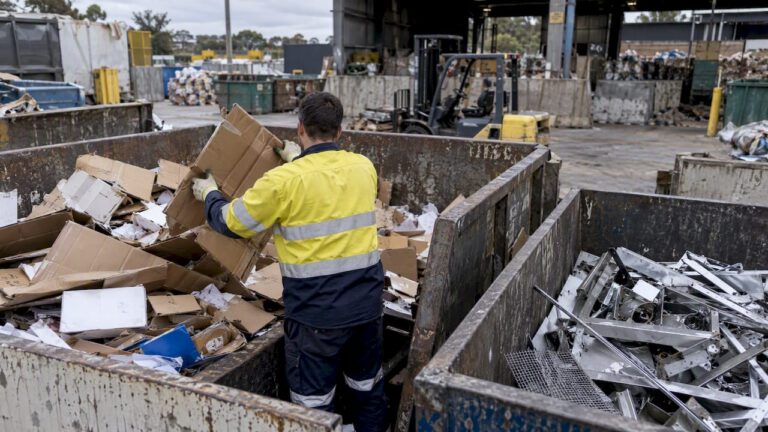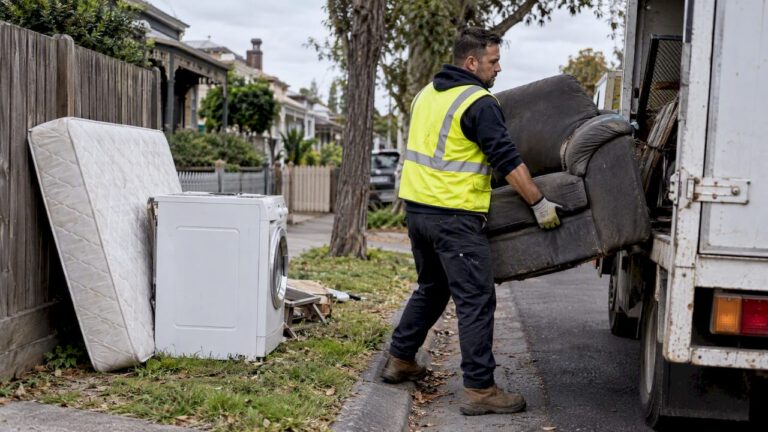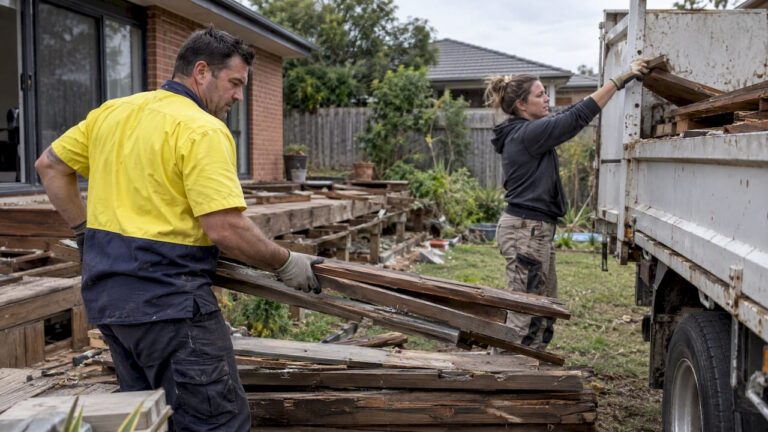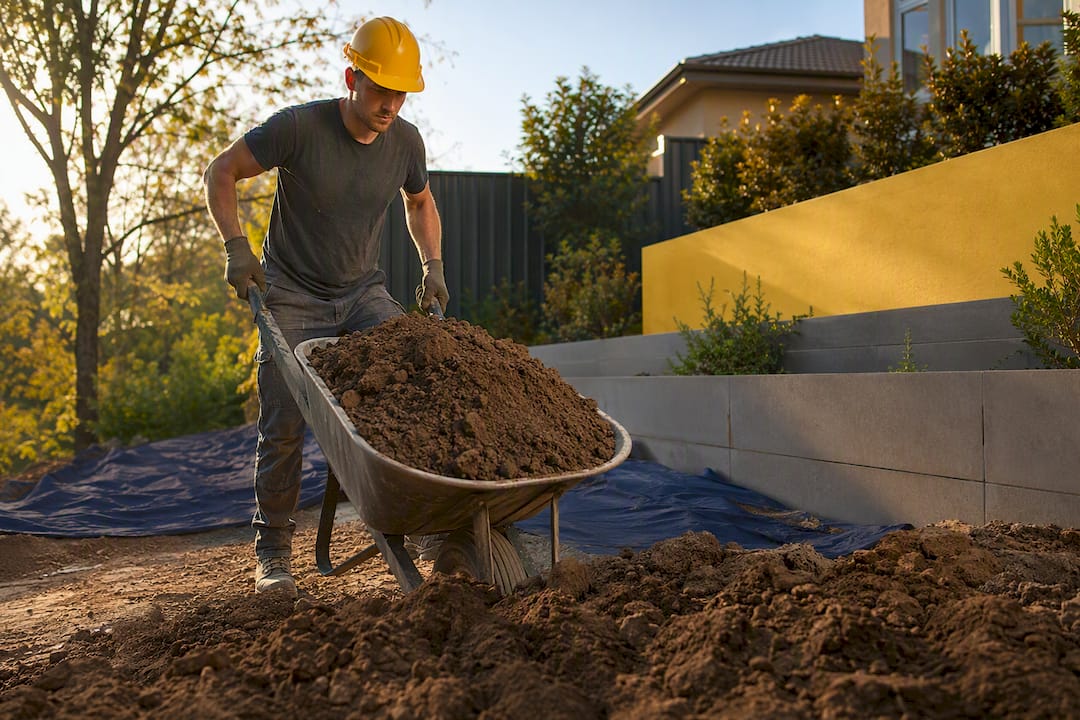
The safest first move is reusing excavated soil on-site. Where that is not possible, transport the soil, correctly classified, to a licensed receival facility and keep the weighbridge and receival dockets. Every load must go to a “lawful place,” and any soil showing signs of contamination needs testing before it moves anywhere. The immediate next step is simple: work out what type of soil you have, then either arrange compliant receival yourself or hand the job to a reputable removal service.
TL;DR:
- Reuse on-site is the cheapest option and great for clean soil, especially when levelling land or building retaining walls on the same property.
- Sending contaminated soil to lined containment or landfill should only be a last resort after testing identifies it as unsuitable for reuse or recycling.
- Proper classification via lab testing and official paperwork is essential for determining the correct disposal facility and for legal compliance.
- Confirm disposal sites have current licenses and obtain written acceptance and weighbridge receipts before soil transport to avoid legal and environmental penalties.
- Bioremediation and soil washing are emerging technologies that can reduce disposal costs and environmental impact for larger contaminated sites.
Table of Contents
- What are the legitimate soil disposal options?
- How is soil classified for disposal purposes?
- Where can you drop off, collect or rehome excess soil?
- What legal responsibilities and records do you need to keep?
- What should you check before choosing a disposal route or contractor?
- When does hiring a full-service provider make sense?
- How do disposal choices affect the environment?
- What health and safety steps apply during soil disposal?
- How do you spot contaminated soil before it leaves your site?
- What new technologies are changing soil treatment?
- Get soil disposal sorted without the compliance headache
- Sources
What are the legitimate soil disposal options?
Soil disposal follows the same logic as any other waste stream: avoid generating excess, reuse what you can, recycle what you can’t reuse, and only send the remainder to landfill. That order matters because each step down the hierarchy costs more and carries more paperwork.
On-site reuse (cut-and-fill) is almost always the cheapest and least risky option. If you’re levelling a backyard or building a retaining wall, spreading excavated soil elsewhere on the same block avoids transport costs, avoids the waste levy, and avoids classification headaches entirely, provided the soil is clean.
Beneficial reuse comes next. Clean fill can go to construction sites needing engineered fill, landscaping projects, or agricultural land, often under resource recovery exemptions that let it move without being treated as regulated waste.
Recycling applies more to mixed construction and demolition loads than pure soil, but where soil is bundled with rubble or organic matter, a construction and demolition recycling facility can separate and process it.
Landfill or lined containment is the last resort, reserved for soil that’s contaminated beyond reuse thresholds or has no viable reuse pathway. It’s also the most expensive route once you factor in the waste levy.
- Avoid or reduce excavation volume where the design allows it
- Reuse clean soil on-site first
- Send surplus clean fill to beneficial reuse projects
- Recycle mixed loads through C&D facilities
- Landfill only when nothing else applies
Cost callout: On-site reuse routinely comes out cheapest because it skips both transport and the state waste levy, while EPA-aligned reuse guidance consistently ranks it above hauling soil offsite. A practical industry breakdown also notes that reuse cuts the carbon cost of trucking bulk soil across the city.
How is soil classified for disposal purposes?
Classification decides everything downstream: which facility can take your soil, whether you need a permit, and how much you’ll pay.
VENM (virgin excavated natural material) is soil that has never been mixed with contaminants, treated chemicals, or foreign material. Clean VENM is typically the easiest soil to move because many drop-off centres accept it without extra approvals. ENM (excavated natural material) sits one step up, still relatively clean but sometimes requiring documentation to confirm its status before a facility will take it.
Soil becomes contaminated when testing shows chemical residues, heavy metals, asbestos fragments, or hydrocarbon contamination above the relevant thresholds. Practical triggers for testing include a site history involving industrial use, fuel storage, painted materials, or unusual odour and colour in the dug material.
Acid sulfate soils are a special category common in low-lying and coastal areas; disturbing them without proper handling can release sulfuric compounds into waterways. Checking regional acid sulfate soil risk maps before you dig is a step small projects often skip, and it can save a costly permit scramble after the fact.
- VENM: clean, unmixed, generally low barrier to disposal
- ENM: clean but may need paperwork confirming classification
- Contaminated: requires lab testing and specific receival sites
- Acid sulfate: requires special handling regardless of visual appearance
Official classification typically relies on sampling by NATA-accredited labs following a documented sampling plan rather than a guess based on colour or smell.
Pro Tip: If your site has any industrial or agricultural history, get a preliminary soil assessment before you book any removal. It’s far cheaper than discovering contamination halfway through a job and paying for redirected loads.
Where can you drop off, collect or rehome excess soil?
Once you know what you’re dealing with, the practical question becomes how to move it.
- Drop-off resource recovery centres — most municipal facilities accept clean VENM with minimal fuss, though some cap volumes per visit and require proof of origin for larger loads.
- Skip bin hire — cost-effective for smaller jobs (a few cubic metres) where you can load at your own pace, but access matters: narrow driveways or steep sites can rule this out.
- Tipper trucks — better suited to larger excavations where a bin would need multiple swaps; they’re usually priced per load rather than per week.
- Giving soil away locally — community noticeboards and classifieds can rehome clean topsoil quickly, but always confirm the soil is genuinely clean before handing it over, since you remain associated with what happens to it.
- Licensed recyclers or specialist contractors — the only sensible route for contaminated or acid sulfate soil, since they carry the approvals and equipment general removalists don’t.
Whichever route you choose, collect the paperwork as you go:
- Weighbridge receipts showing the weight received
- Receival dockets confirming the facility accepted the load
- Written acceptance from the receiving facility before you deliver, not after
Composting outlets can also be worth checking if your soil has significant organic content mixed in. Sites like Harvest Hub’s compost directory list local options that sometimes take soil with heavy organic matter that would otherwise need separate handling.
What legal responsibilities and records do you need to keep?
The core legal duty is straightforward but unforgiving: waste must go to a “lawful place,” and both the waste owner and the transporter can be held liable if it doesn’t. Under section 143 of the POEO Act, transporting waste to a facility that can’t lawfully receive it is an offence, carrying fines and potential cleanup orders regardless of whether you knew the destination was unauthorised.
Permits add another layer. Queensland requires a disposal permit before removing contaminated soil listed on environmental registers, specifying both the authorised site and the maximum volume. Other jurisdictions apply similar controls once soil meets the definition of industrial or priority waste, as EPA Victoria’s guidance sets out.
Keep these records on hand for every job:
- A Waste Management Plan noting classification, estimated quantities and intended receival site
- Sampling and lab reports for anything beyond clean VENM
- Weighbridge receipts and disposal dockets for every load
- Landfill or recycler acceptance letters confirming the facility took responsibility
Penalty callout: Illegal placement of soil isn’t a minor slap on the wrist. Guidance from NSW EPA points to significant financial penalties on top of remediation costs, and cleanup orders can land on the property owner even when a contractor did the dumping.
Where possible, pay the landfill or recycler directly rather than routing payment through a subcontractor. That single habit closes off a lot of the fraud risk that comes from someone pocketing the disposal fee and dumping the load somewhere cheaper.
What should you check before choosing a disposal route or contractor?
Run through this before committing to a route:
- Confirm the soil’s classification, and get lab results if there’s any doubt.
- Check the receiving facility holds a current Environmental Protection Licence or development consent for the volumes you’re sending.
- Ask whether NATA-accredited testing was used if classification is contaminated or borderline.
- Verify the transporter’s credentials and confirm they can name the exact receival site in advance.
- Get everything in writing: a receival acceptance letter, before any soil moves.
When talking to a contractor, ask directly:
- “Can you provide a receival acceptance letter before the job starts?”
- “Will you supply weighbridge tickets and disposal dockets on completion?”
- “Who pays the waste levy, and is it included in the quote?”
Get itemised pricing too. Ask for the tipping fee per tonne, transport cost, any minimum call-out charge, the disposal levy, and separate handling fees if the load turns out to be contaminated.
Red flags worth refusing outright: a vague or unnamed destination, reluctance to hand over documentation, or any suggestion of mixing contaminated soil with clean loads to “average out” the classification.
Pro Tip: Request the receival acceptance letter before the truck leaves your site, not after. Contractors who hesitate at this step are usually the ones planning to cut corners on where the soil actually ends up.
When does hiring a full-service provider make sense?
Some jobs are worth handing over entirely, particularly when you’d rather not chase paperwork between multiple facilities. Melbournecityrubbish manages the full chain on behalf of clients: quoting, physical removal, transport, weighbridge tickets, receival dockets, and payment of any applicable disposal levy.
This suits you best when:
- You suspect contamination but don’t have the resources to arrange testing and a specialist contractor yourself
- You’re running a commercial project that needs documented evidence for a Waste Management Plan
- Your site has limited storage or awkward access for skip bins and tipper trucks
How do disposal choices affect the environment?
Every soil disposal method carries a different environmental cost, and it’s rarely obvious at a glance.
On-site reuse has close to zero transport emissions since nothing leaves the property. Beneficial reuse off-site still avoids landfill space but adds truck emissions proportional to distance travelled, which is why local reuse projects generally beat sending soil interstate.
Landfilling clean soil is the environmental worst-case scenario for VENM, since it consumes airspace in a facility that should be reserved for genuine waste, and it does so for no real reason if the soil could have been reused. Contaminated soil sent to lined containment is different: burying it responsibly prevents further contamination spread, even though it still uses landfill capacity.
Acid sulfate soils carry a distinct risk profile. Disturbing them without proper handling can release sulfuric compounds that affect waterways and aquatic life well beyond the original site, which is part of why regional risk mapping before excavation matters so much.
Choosing recyclers and reuse pathways over landfill also reduces the demand for virgin fill material elsewhere, since reused soil substitutes for freshly quarried material on other projects. That’s a smaller, less visible benefit, but it compounds across an industry that moves enormous volumes of earth every year.
What health and safety steps apply during soil disposal?
Soil handling carries real physical risks that go beyond classification paperwork.
Manual handling injuries are the most common issue on small jobs, since soil is heavier than it looks and repetitive shovelling into bins or trucks strains backs quickly. Mechanical assistance, even a basic wheelbarrow with pneumatic tyres, reduces this considerably on anything beyond a token amount.
Dust exposure matters more than most homeowners expect, particularly with dry, fine soils or anything disturbed near demolition debris. A P2 dust mask is cheap insurance, and wetting down dry soil before shifting it cuts airborne particles significantly.
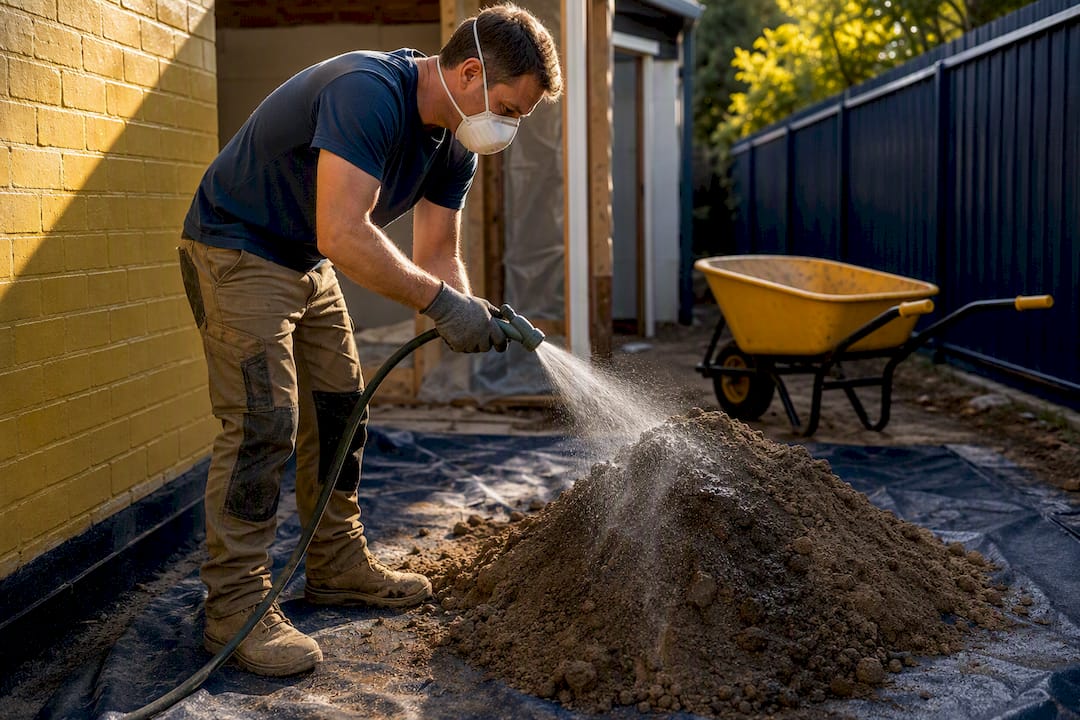
Contaminated soil adds a different layer of risk: skin contact with hydrocarbon or heavy-metal contaminated material warrants gloves at minimum, and any suspected asbestos fragments mean stopping work entirely until a specialist assesses the site.
Traffic and access hazards during collection are easy to overlook. Skip bins and tipper trucks parked on narrow streets or driveways create real risks for pedestrians and other vehicles, so plan placement before the truck arrives rather than improvising on the day.
Sites managing ongoing works should also fold pest considerations into their site plan, since disturbed soil and stockpiled material can attract vermin. A construction site pest management plan covers this alongside the broader safety controls a project should have in place.
How do you spot contaminated soil before it leaves your site?
Visual and contextual clues get you most of the way there, though they’re never a substitute for lab testing when something looks off.
Site history is the strongest early indicator. Former industrial sites, service stations, dry cleaners, and properties with old sheds or workshops carry a materially higher chance of contamination than a standard suburban backyard that’s only ever held a house and garden.
Visual signs worth stopping for include unusual soil colour (blackened, greenish, or unnaturally bright patches), oily sheens, visible debris like paint chips or asbestos-like fibrous material, and any chemical odour, particularly petrol, solvent, or sulfurous smells.
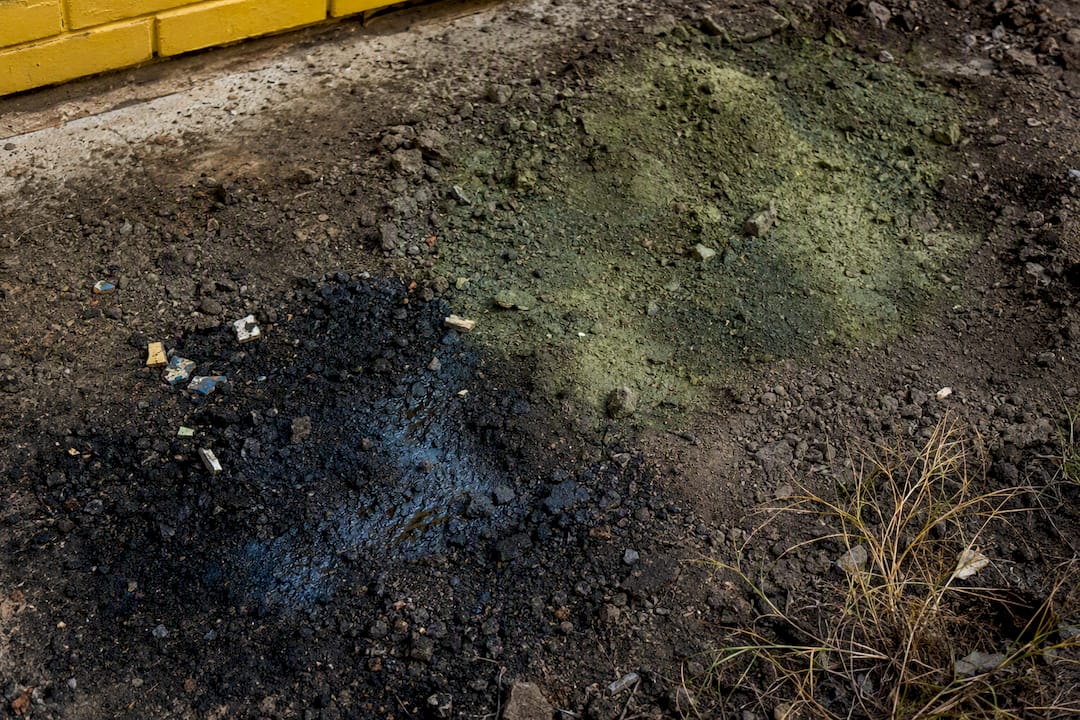
Behavioural clues matter too. Soil that reacts unusually when wet, foams, or has an odd texture compared to surrounding areas deserves a second look. So does any patch where vegetation consistently fails to grow despite reasonable conditions elsewhere on the block.
Where any of these signs appear, the sensible next step is a preliminary assessment through a qualified environmental consultant, followed by formal sampling through a NATA-accredited lab if the initial check flags a concern. Skipping this step and moving suspect soil anyway is exactly the scenario that section 143 liability exists to catch.
What new technologies are changing soil treatment?
Soil treatment isn’t stuck with landfill as the only option for contaminated material anymore.
Bioremediation uses naturally occurring or introduced microorganisms to break down hydrocarbon and some organic contaminants in place, reducing the volume that needs to be dug up and trucked away at all. It’s slower than excavation and disposal, often taking months, but it can be significantly cheaper for large contaminated sites where full excavation isn’t practical.
Soil washing separates contaminants from soil particles using water and sometimes chemical additives, allowing the cleaned fraction to be reused while concentrating contamination into a much smaller volume for proper disposal.
Thermal desorption heats contaminated soil to vaporise and capture volatile contaminants, which works well for petroleum hydrocarbon contamination and can return soil to a reusable state rather than sending it straight to containment.
Stabilisation and solidification mixes contaminated soil with binding agents like cement to lock contaminants in place chemically, useful when the goal is safe containment on-site rather than transport and reuse.
These technologies remain more common on larger commercial and industrial remediation projects than on a typical home renovation, given the equipment and specialist oversight involved. For most homeowners and small builders, the practical takeaway is that contaminated soil isn’t automatically a dead end. Ask a specialist contractor whether treatment is a viable alternative to straight landfill disposal before assuming the expensive option is the only one.
Get soil disposal sorted without the compliance headache
Sorting soil classification, chasing weighbridge receipts, and confirming a facility’s licence status takes real time, time most homeowners and small businesses would rather spend finishing the actual project. Melbournecityrubbish handles that whole chain for you: quoting the job upfront, removing the soil, transporting it to a facility that can lawfully accept it, and handing you the dockets and receival paperwork you need for your own records.
This suits you particularly well if you’re mid-renovation with excavated soil piling up and nowhere convenient to store it, or running a small commercial job where you need documented proof of lawful disposal for your own Waste Management Plan.
If you’re still comparing removal options against DIY drop-off or a tipper truck booking, start by checking what a full-service removal quote looks like for your specific job, then book directly through Melbournecityrubbish once you’ve confirmed it’s the right fit.
This article is general information, not a substitute for advice from a qualified lawyer. Consult a qualified legal professional about your own circumstances before acting on anything here.
Sources
- Soil disposal permit guidance – Queensland Department of Environment and Science
- Construction and demolition waste management toolkit – NSW EPA